Golf carts are a staple for navigating courses, resorts, and communities, but choosing the right power source can make or break your experience.
As a golf enthusiast or a team manager, you might wonder if lithium golf cart batteries are worth the higher upfront cost, especially when it comes to installation or compatibility with your Yamaha, EZGO, Club Car, or Icon cart. Let's dive in to help you decide if lithium is the right choice.
Why Golf Carts Benefit from Lithium Batteries
Golf carts demand consistent power for daily rounds, hilly terrains, or community travel. Lithium golf cart batteries, particularly Lithium Iron Phosphate (LiFePO4), excel in meeting these needs with high energy density, delivering more power in a compact, lightweight package.
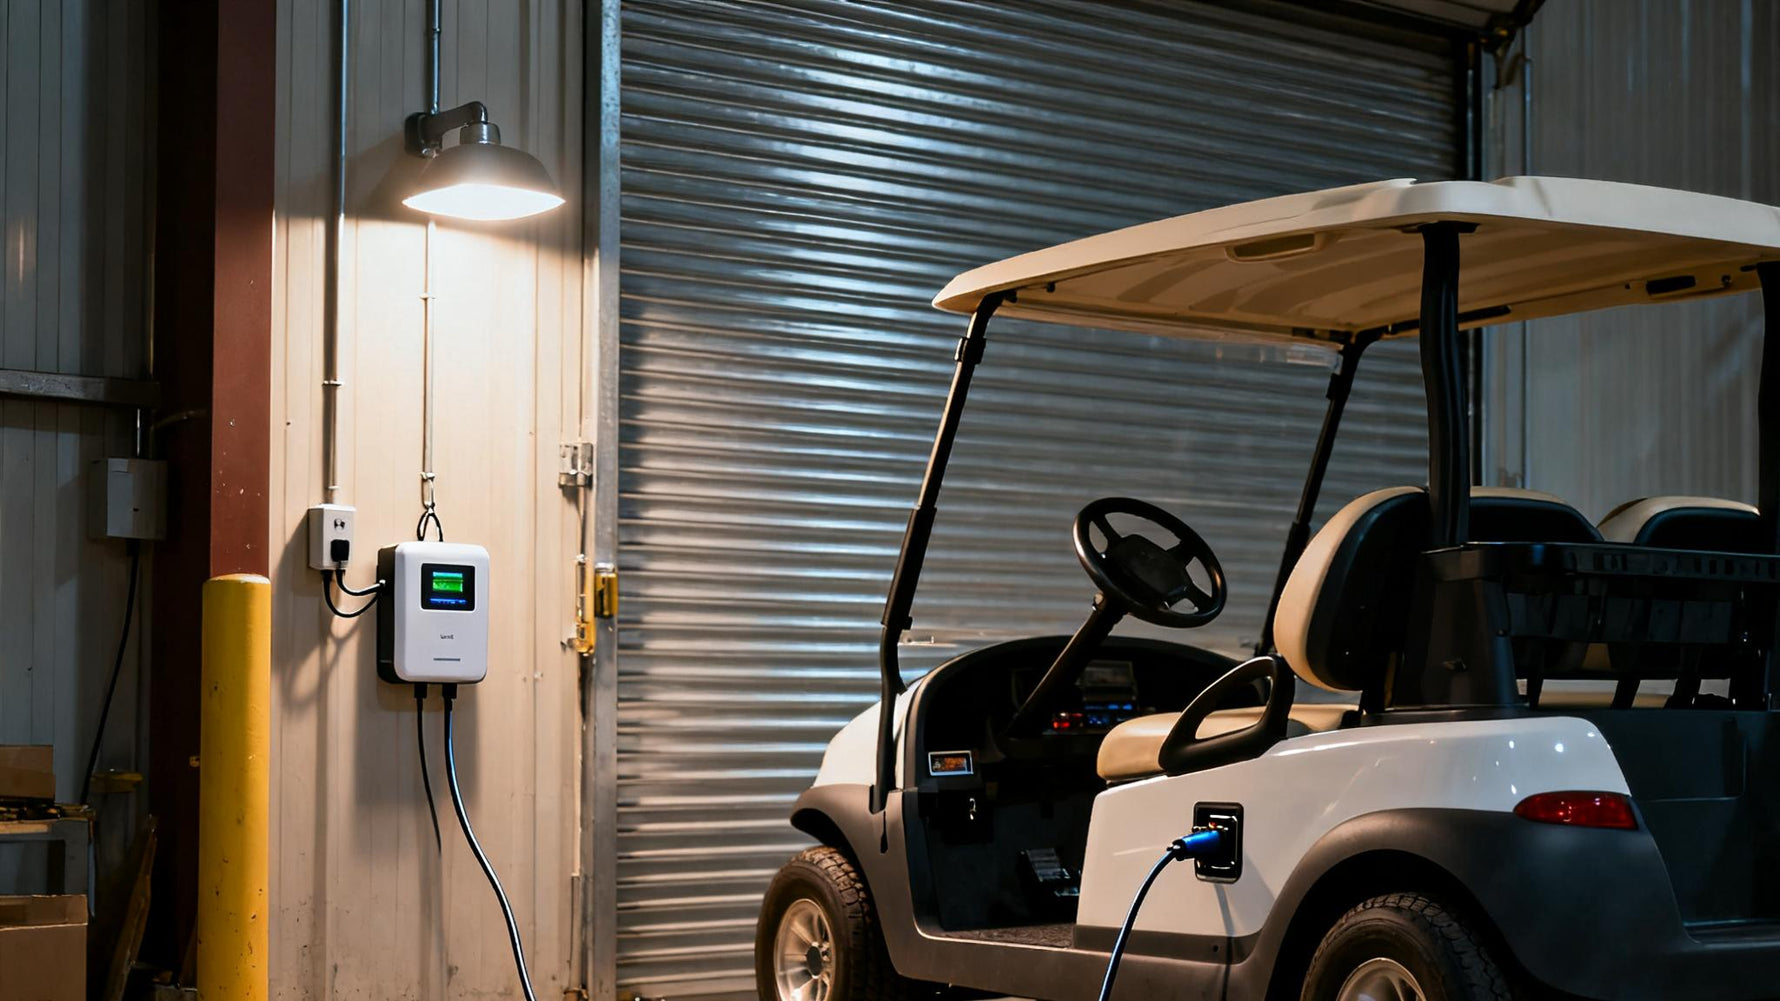
For example, the Vatrer 48V 105Ah battery (102.3 lbs) offers up to 50 miles of range per charge, ideal for 18-27 holes or extended neighborhood trips, and is 70% lighter than a typical 360-lbs lead-acid setup, enhancing maneuverability on hilly courses. You can also charge these batteries in just 5 hours with Vatrer 58.4V 20A LiFePO4 charger, compared to 8-12 hours for lead-acid batteries. Plus, they're maintenance-free, eliminating water top-ups or corrosion cleanup, making them a reliable choice for Yamaha, EZGO, Club Car, or Icon owners.
Why Lithium Batteries Are Worth Investing in for Golf Carts: Electric Golf Carts vs. Gas Golf Carts
Electric golf carts, especially those powered by lithium golf cart batteries, are steadily overtaking gas-powered models across global golf courses, resorts, and communities. This shift is driven by advancements in battery technology, environmental priorities, and the demand for cost-effective, low-maintenance solutions.
Lithium batteries, like Vatrer's 36V, 48V, and 72V LiFePO4 models, are at the heart of this transition, delivering superior performance and solving key challenges for all golf cart owners. Compared to gasoline-powered golf carts, electric golf carts are gaining popularity for several reasons:
Environmental Benefits: Electric carts produce zero emissions, aligning with sustainable practices on golf courses and in eco-conscious communities, unlike gas-powered carts that emit carbon dioxide and pollutants.
Lower Operating Costs: While gas-powered carts have lower upfront costs, electric carts save money over time through reduced fuel and maintenance expenses. For example, a Vatrer 48V 105Ahlithium battery can save ~$600 in maintenance and $200-$300 in electricity vs. fuel costs over five years.
Improved User Experience: Electric carts run quietly, making them ideal for residential areas or serene golf courses, and offer smoother acceleration on varied terrains compared to the inconsistent power delivery of gas engines.
Technological Advancements: Lithium batteries have transformed electric carts by providing longer ranges, faster charging, and lighter weight, addressing past limitations of electric models.
To illustrate the differences, here's a comparison of electric (lithium-powered) and gas-powered golf carts:
Feature
Electric Golf Carts (Lithium-Powered)
Gas-Powered Golf Carts
Power Delivery
Instant voltage for smooth, reliable acceleration
Instant torque but less consistent over long runs
Range
~70 miles per charge (e.g., Vatrer 48V 150Ah)
30-40 miles, limited by fuel tank size
Environmental Impact
Zero emissions, recyclable batteries
Emits CO2, less eco-friendly
Maintenance
Maintenance-free with lithium batteries
Requires oil changes, fuel, and engine upkeep
Operating Cost
Upfront cost ($900-$2,200) but lower long-term
Initial cost but higher fuel and maintenance expenses
Noise Level
Quiet, ideal for communities and courses
Louder, may disturb quiet settings
Unlike traditional lead-acid batteries, these lithium-ion batteries address key issues: their lightweight design improves efficiency and maneuverability on mountain courses, while their cycle life exceeding 4,000 times (5-10 years) reduces replacement costs. A battery management system (BMS) prevents overcharging or short circuits, ensuring safety. A Bluetooth-connected app provides real-time performance monitoring, making maintenance easy and convenient.
For owners of Yamaha, EZGO, Club Car, or Icon golf carts, Vatrer lithium golf cart battery conversion kits simplify the upgrade process, often eliminating the need for battery tray modifications. This makes lithium-ion batteries the preferred power source for golf carts that are redefining the industry and a key driver of the growing popularity of electric golf carts.
Lithium vs. Lead-Acid Batteries for Golf Carts: Why Lithium Wins
The lead acid vs lithium golf cart debate often comes down to longevity, performance, and maintenance. Here's why lithium batteries are a compelling choice:
Lifespan: Vatrer's 36V, 48V, and 72V batteries last 4,000+ cycles (5-10 years), compared to lead-acid's 300-500 cycles (3-5 years), reducing replacement costs.
Weight: Lithium batteries are 50-70% lighter, such as Vatrer 48V 105Ah at 102.3 lbs vs. lead-acid at ~360 lbs, improving cart handling and efficiency.
Charging Speed: Lithium charges in 4-6 hours vs. 8-12 hours for lead-acid, minimizing downtime.
Maintenance: Lithium is maintenance-free, unlike lead-acid, which requires water checks and corrosion cleaning.
Performance: Lithium maintains steady voltage for consistent power, while lead-acid performance drops as they discharge.
Although lead-acid batteries cost less upfront ($400-$800 vs. $1,684.99 for Vatrer's 48V 105Ah), but their 300-500 cycles require multiple replacements, costing ~$1,200 more over 10 years. Vatrer's lithium golf cart batteries kits are plug-and-play for most 48V systems like Club Car and Yamaha, though older EZGO models may need controller upgrades.
Best Lithium Batteries for Golf Carts: Vatrer 36V, 48V, and 72V
Vatrer's 36V, 48V, and 72V lithium golf cart batteries are tailored for major brands like Club Car, EZGO, Yamaha, and Icon, offering options for every golfer's needs. Here's how to choose based on your usage:
Battery Model
Price
Best For
Range
Key Features
Vatrer 36V 105Ah
$1,369.99
Older/lighter-duty carts (EZGO TXT) on flat courses
Up to 40 miles
7.68kW power, 4,000+ cycles, 83.3 lbs, ideal for 18-27 holes
Vatrer 48V 105Ah
$1,684.99
Standard carts (Club Car Precedent, Yamaha Drive2) on moderate terrains
Up to 50 miles
10.24kW power, 4,000+ cycles, 102.3 lbs, 200A BMS
Vatrer 48V 150Ah
$2,199.99
Heavy loads or hilly courses
Up to 70 miles
7.68kWh energy, 10.24kW power, 138.8 lbs, ideal for multiple rounds
Vatrer 72V 105Ah
$2,199.99
High-performance carts (Icon i60) or professional use
50-60 miles
14.08kW power, 4,000+ cycles, 200A BMS, 2C rate
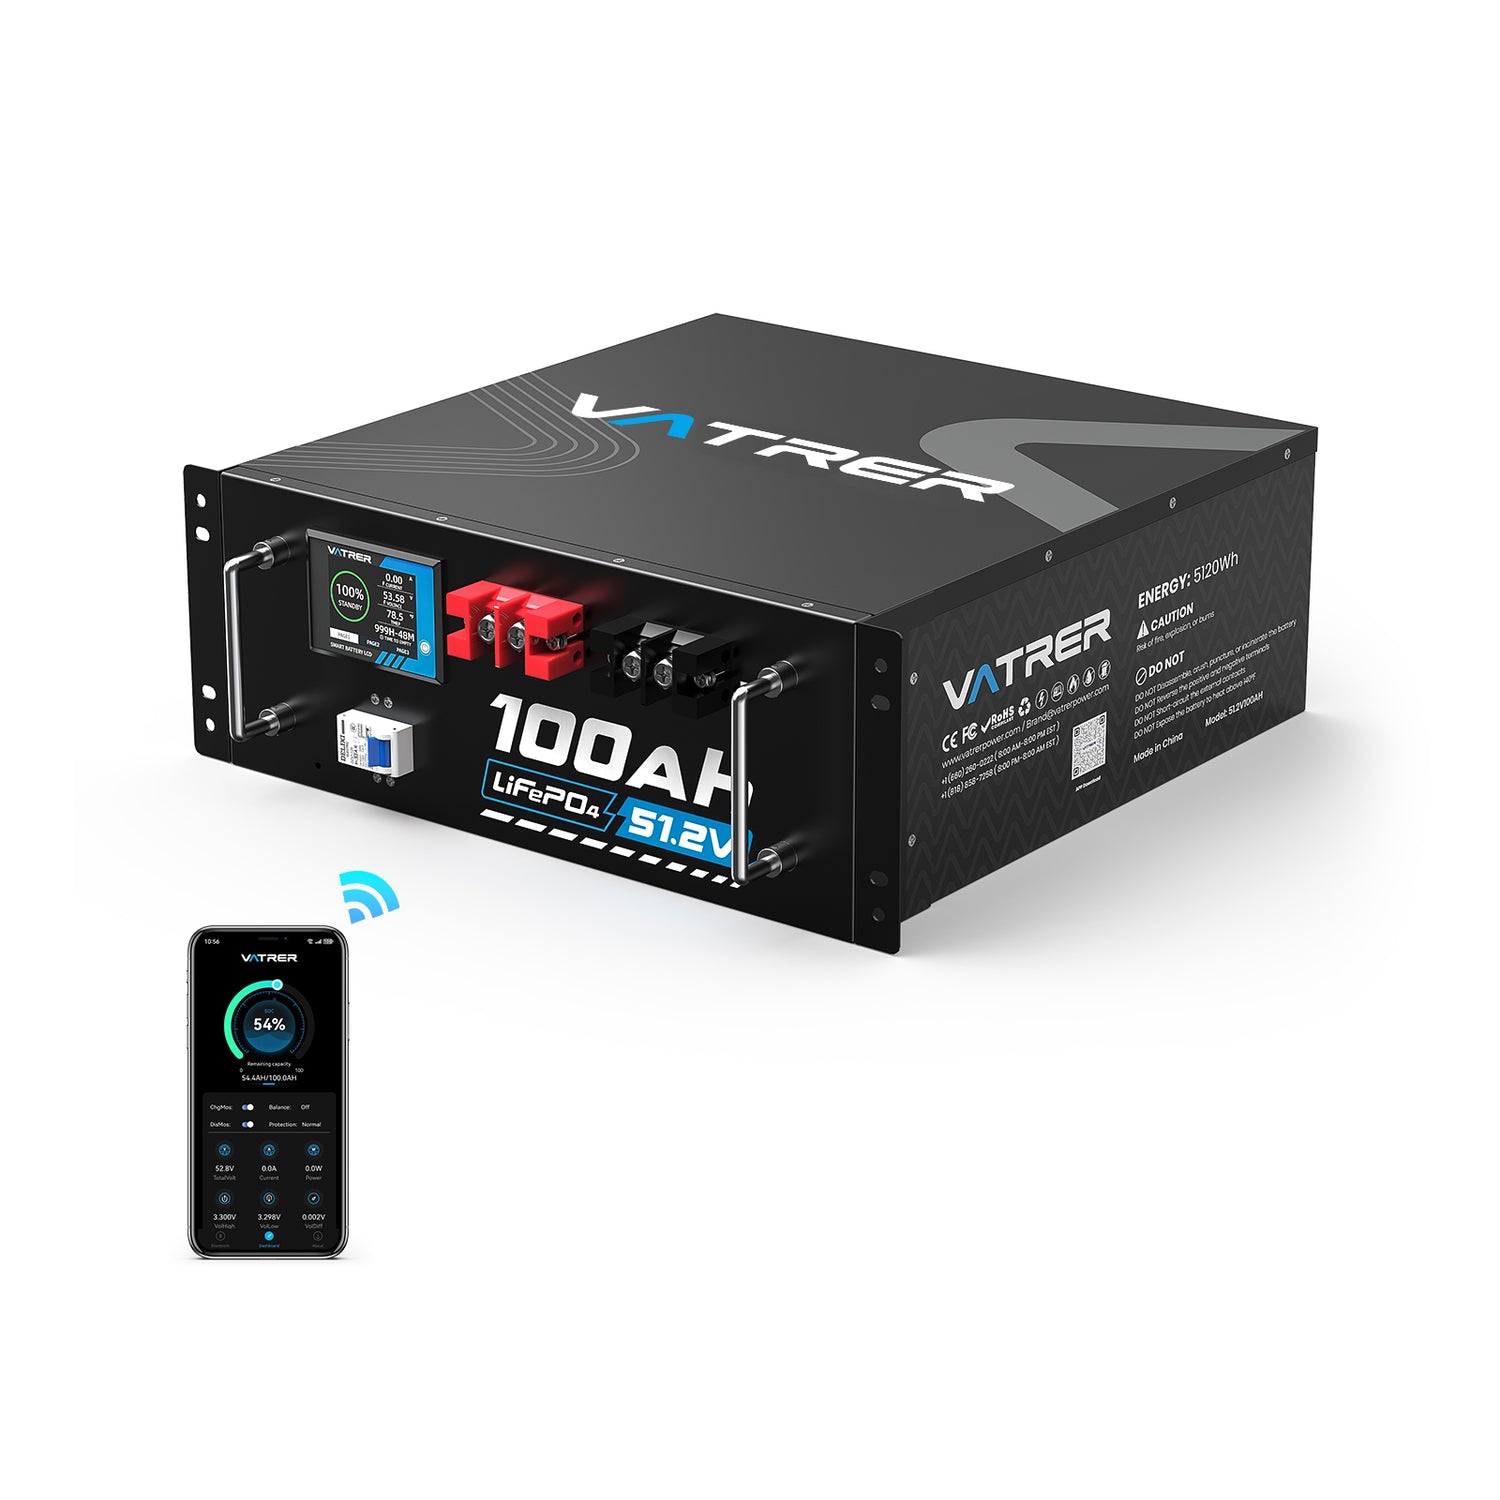
Vatrer All golf cart battery models feature a 200A-300A Battery Management System (BMS) for protection against overcharge, over-discharge, and short circuits, plus IP65-IP67 waterproof casing for durability in harsh conditions (-4°F to 131°F). A 2.8-inch touchscreen and Bluetooth app provide real-time monitoring of voltage, current, and battery status.
Therefore, the Vatrer golf cart lithium battery conversion kit is very easy to install and does not require a tray modification for most Club Car, EZGO, Yamaha and Icon models. However, it is recommended that you still confirm the compatibility of your cart voltage and controller before purchasing.
Beyond Golf Carts: Other Uses for Lithium Batteries
In addition to electric golf carts, lithium batteries are widely used in other low-speed electric vehicles, such as low-speed vehicles (LSVs), utility vehicles (UTVs), and all-terrain vehicles (ATVs). These vehicles are popular in communities, resorts, and recreational areas.
Low-Speed Vehicles (LSVs): LSVs, often used for neighborhood transport or campus shuttles, rely on lithium batteries for their lightweight design and long range. A typical 48V lithium battery delivers 40-50 miles per charge, enabling extended travel without frequent recharging. The reduced weight often 50-70% lighter than lead-acid batteries improves energy efficiency and allows LSVs to carry heavier loads, such as passengers or equipment, without compromising speed or handling.
Utility Terrain Vehicles (UTVs): UTVs, used for tasks like landscaping, farming, or resort maintenance, benefit from lithium batteries high discharge rates and durability. These batteries provide consistent power for demanding tasks, such as climbing steep hills or towing heavy loads, with a lifespan of 4,000+ cycles (5-10 years) compared to lead-acid's 300-500 cycles. Faster charging (4-6 hours vs. 8-12 hours for lead-acid) minimizes downtime, keeping UTVs operational for busy workdays.
All-Terrain Vehicles (ATVs): ATVs, popular for off-road recreation, leverage lithium batteries for their vibration resistance and compact size. A 48V lithium battery can deliver up to 15kW of power, supporting agile performance on rugged terrains. Their maintenance-free operation eliminates the need for water top-ups or corrosion checks, making them ideal for outdoor enthusiasts who value reliability and ease of use.
Conclusion: The Value of Lithium Batteries for Your Golf Cart
Lithium golf cart batteries offer a compelling solution for golf cart owners seeking reliable, efficient, and sustainable power for their Yamaha, EZGO, Club Car, or Icon carts.
As electric golf carts surpass gas-powered models for their quiet operation, zero emissions, and lower long-term costs, saving approximately $600 in maintenance and $200-$300 in electricity over five years lithium batteries drive this shift with superior performance.
So, by choosing lithium batteries, you invest in a cost-effective, eco-friendly power source that elevates your golf cart's performance and aligns with the growing trend toward sustainable electric vehicles.
You May Also Be Interested In
Are Lithium Golf Cart Batteries Safe To Use In All Weather Conditions?
Lithium golf cart batteries, particularly Lithium Iron Phosphate (LiFePO4) models, are designed with safety in mind and perform well across a wide range of weather conditions.
Built-in Battery Management Systems (BMS) protect against overcharging, over-discharging, and overheating, reducing risks even in extreme temperatures (-4°F to 131°F).
For cold climates, like Vatrer 48V 105Ah heated batteries include self-heating features to maintain performance. To ensure safety, store and charge batteries in a well-ventilated area away from flammable materials, and use a charger matched to the battery's voltage (58.4V for a 48V system). Always follow manufacturer guidelines to avoid improper handling, ensuring reliable operation whether on a sunny golf course or in rainy resort settings.
How Do i Know If My Golf Cart Is Compatible With a Lithium Battery Upgrade?
To confirm compatibility, check your golf cart's voltage, like 36V, 48V, or 72V and controller specifications, typically found in the owner's manual or on the cart's battery compartment.
Most modern Yamaha, EZGO, Club Car, and Icon carts support lithium golf cart batteries conversion kits with plug-and-play designs, requiring no tray modifications.
However, older models, such as some EZGO TXT may need controller upgrades to handle lithium's higher voltage stability.
Contact the battery manufacturer or a certified technician to verify compatibility and ensure proper wiring. This step prevents performance issues and maximizes the battery's benefits, like extended range and faster charging.
How Should i Charge a Lithium Golf Cart Battery To Maximize Its Lifespan?
To maximize the lifespan of a 48V lithium golf cart battery, use a charger specifically designed for LiFePO4 batteries.
Charge in a well-ventilated area at moderate temperatures (50°F to 86°F) to avoid stress on the battery. Avoid fully discharging the battery, aim to recharge when it reaches 20-30% capacity to preserve its 4,000+ cycle lifespan.
Most lithium batteries feature a BMS that prevents overcharging, but unplug the charger once the battery is full to minimize wear. Regular partial charges (after each use) are better than infrequent deep cycles, ensuring your battery lasts 5-10 years.
Can i Mix Lithium And Lead-Acid Batteries In My Golf Cart?
Mixing lithium and lead-acid batteries in a golf cart is not recommended due to their differing voltage profiles and charging requirements.
Lithium batteries maintain a steady voltage, such as 48V throughout discharge, while lead-acid batteries voltage drops significantly, causing uneven power delivery and potential damage to both battery types.
The BMS in lithium batteries may also conflict with lead-acid charging systems, leading to overcharging or undercharging. For optimal performance, replace all lead-acid batteries with a complete lithium golf cart battery set, ensuring compatibility with your cart's voltage (36V or 48V). Consult a technician to confirm proper installation and avoid costly issues.
What Should i Do If My Lithium Golf Cart Battery Isn't Holding a Charge As Expected?
If your lithium golf cart battery isn't holding a charge, first check the charger for compatibility. Inspect connections for corrosion or loose wiring, which can disrupt charging.
Ensure the battery isn't exposed to extreme temperatures, as prolonged heat above 131°F or cold below -4°F can affect performance. Like Vatrer batteries, they can be connected to the app via Bluetooth to monitor whether there are any abnormalities in voltage and capacity. If issues persist, the BMS may be limiting output due to detected faults. Contact the Vatrer Battery manufacturer or a technician for diagnostics. Regular maintenance checks and proper storage can prevent most charge-related problems.
How Do Lithium Golf Cart Batteries Impact The Resale Value Of My Golf Cart?
Upgrading to lithium golf cart batteries can increase your cart's resale value, as buyers value their long lifespan (5-10 years), maintenance-free operation, and enhanced performance.
Lithium-powered carts are seen as premium due to their efficiency and alignment with eco-friendly trends, appealing to buyers in golf communities or resorts. Ensure the battery is compatible with the cart, such as 48V for Yamaha Drive2 and well-maintained, with documentation of its installation and condition. However, the higher upfront cost may not be fully recouped in resale, so focus on long-term use benefits to justify the investment.