Can I Replace My Own Golf Cart Battery?
Reading time: 7 minutes
Introduction
As golf carts evolve from simple course vehicles into neighborhood transports, commercial fleet units, and recreational platforms, more owners are choosing to replace their own batteries. The motivations are clear: reducing maintenance costs, upgrading to higher performance energy systems, and extending the operational lifespan of the vehicle. Whether battery replacement is suitable for a do it yourself approach depends on several technical variables, including battery chemistry, system voltage, motor type, controller architecture, and the user’s familiarity with electrical systems. Mastering these variables is the difference between a successful upgrade and a costly electrical failure.


Understanding the Types of Golf Cart Batteries
Golf carts primarily use three battery chemistries: Flooded Lead-Acid (FLA), AGM sealed lead-acid, and Lithium-ion (Li-ion). Each chemistry differs in weight, internal construction, installation requirements, and wiring complexity, all of which influence the difficulty of DIY replacement.
Flooded Lead-Acid batteries are the traditional choice. They are heavy, require periodic watering, and typically consist of multiple 6-volt or 8-volt units wired in series. Replacing them is largely mechanical work but involves handling significant weight and ensuring correct cable routing.
AGM batteries are sealed lead-acid units that eliminate the need for watering. They are slightly lighter and easier to handle than FLA batteries. Installation is similar, but AGM batteries require a compatible charging profile to avoid overvoltage damage.
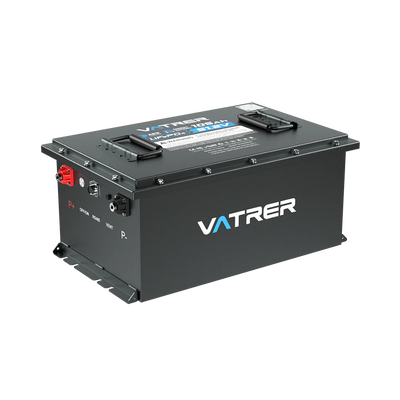
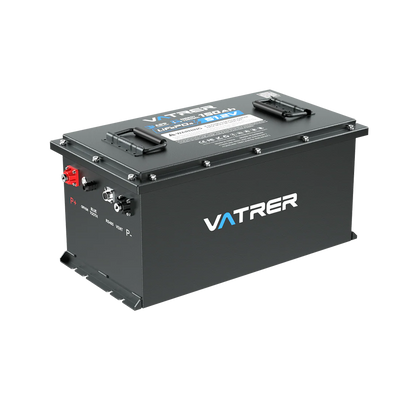
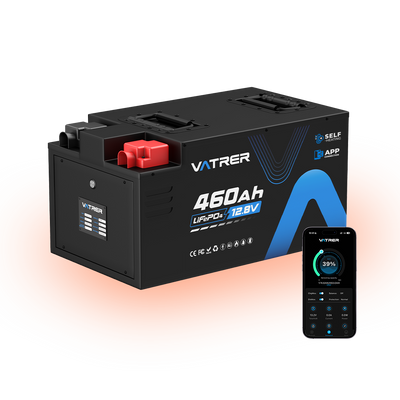
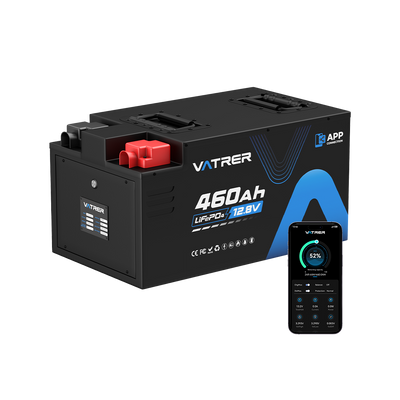
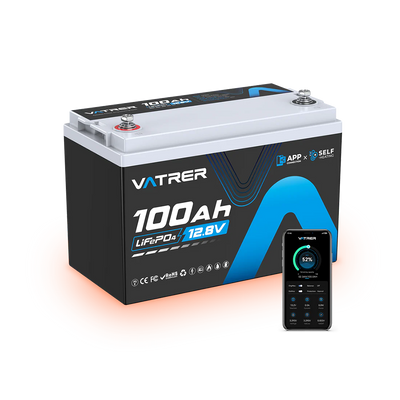
Lithium-ion batteries represent the most advanced option. They are significantly lighter, incorporate an internal Battery Management System (BMS), and often come as “drop in” replacements designed to match the physical footprint of lead-acid batteries. However, Li-ion systems may require charger replacement, wiring adjustments, or controller compatibility checks, making DIY installation more complex depending on the model.
Quick Decision Snapshot: Is DIY Replacement Suitable for You
If the replacement involves the same chemistry, the same voltage, and no changes to the charger or controller, the task is generally DIY friendly.
If the replacement involves a chemistry change, a voltage upgrade, or any modification to the controller, solenoid, or DC-DC converter, the task requires advanced technical knowledge and may be unsuitable for inexperienced users.
When Replacing a Golf Cart Battery Is DIY Friendly
Certain replacement scenarios are straightforward and suitable for most owners. Replacing lead acid batteries with new lead-acid batteries of the same voltage is primarily mechanical work. The wiring pattern remains unchanged, and the existing charger is already compatible.
Lithium-ion drop-in replacements designed for the same system voltage are also DIY friendly. These systems are engineered to match the original wiring layout and require minimal adjustments. The process typically involves removing the old batteries, installing the lithium pack, and connecting the main positive and negative terminals.
Simple cable replacements, terminal cleaning, and corrosion removal are also tasks that most owners can perform safely, provided polarity is respected and the system is properly isolated.
When Battery Replacement Requires More Technical Knowledge
More complex scenarios require a deeper understanding of the cart’s electrical architecture. Switching from lead acid to lithium is not always a simple drop in process. Some lithium systems require a compatible charger, and others may require changes to the solenoid, DC-DC converter, or wiring harness.
Upgrading system voltage, such as converting a 36 volt cart to a 48 volt system, introduces additional challenges. Higher voltage affects every component in the powertrain. The charger must be replaced, the solenoid must be rated for the new voltage, and the DC-DC converter must match the accessory voltage requirements. In many cases, the controller must be reprogrammed or replaced entirely to operate safely at the higher voltage.
These tasks involve electrical compatibility considerations rather than simple mechanical replacement. Incorrect installation can damage the controller, motor, or battery pack, making professional assistance advisable.
Motor and Controller Compatibility Considerations
Golf carts use two primary motor types: Series wound motors and Separately Excited (Sepex) motors. Understanding the difference is essential when modifying or upgrading the battery system.
Series motors are mechanically simple and more tolerant of voltage changes. They do not use a Run/Tow switch and can often handle moderate voltage increases, provided the controller is compatible.
Sepex motors, identifiable by the presence of a Run/Tow switch, are electronically controlled systems in which the controller regulates both field and armature current. These systems are highly sensitive to voltage changes. A mismatched voltage can cause the controller to shut down, trigger fault codes, or fail entirely.
Critical Safety Note:
On Sepex systems, the Run/Tow switch must be placed in Tow mode before disconnecting any battery cables. This isolates the controller and allows its internal capacitors to discharge. Disconnecting batteries while the controller remains energized can cause arcing, data corruption, or permanent controller damage.
DIY installers must confirm whether their cart uses a Series or Sepex system before attempting any voltage or chemistry upgrade.
Safety Considerations Before Attempting DIY Replacement
Battery replacement involves both electrical and physical hazards. Proper isolation procedures are essential. The main negative cable must always be disconnected first to prevent accidental short circuits. Polarity must be checked carefully before reconnecting any terminals. Tools should be insulated, and metal jewelry should be removed to avoid accidental contact with live terminals.
Flooded Lead-Acid batteries contain liquid electrolyte that can spill or cause burns. They are extremely heavy, often exceeding 60 pounds per unit, and require proper lifting technique to avoid injury. Lithium-ion batteries contain a BMS that protects against overcurrent and short circuits, but they must still be handled carefully to avoid damaging the casing or terminals.
Step-by-Step Overview of the Replacement Process
The general process for replacing a golf cart battery follows a predictable sequence. The Run/Tow switch is placed in Tow mode on Sepex systems. The main negative cable is disconnected to isolate the system. The existing wiring layout is documented or photographed to ensure correct reassembly. Old batteries are removed from the tray, and the tray is cleaned to remove corrosion or debris. Cable ends are cleaned or replaced if necessary. New batteries are installed in the correct orientation, and cables are reconnected following the original wiring pattern. Once installation is complete, system voltage is verified, and the cart is tested for proper operation. This overview is not a detailed procedure but a high-level description of the workflow.
Common Mistakes to Avoid
Several common errors can lead to system damage or safety hazards. Incorrect wiring order or reversed polarity can destroy the controller instantly. Reusing corroded cables or terminals can cause high resistance and overheating. Installing lithium batteries without verifying BMS discharge capability can result in sudden power cutoffs under load. Using an incompatible charger can damage both the charger and the battery. Failing to secure a lithium battery pack can lead to vibration-related damage. Upgrading voltage without confirming DC-DC converter compatibility can cause accessory failure.
When You Should Consider Professional Installation
Certain situations are better handled by trained technicians. Voltage upgrades from 36 to 48 volts require system wide compatibility checks. Controller reprogramming or replacement requires specialized tools and knowledge. Multi-battery lithium configurations, parallel or series arrangements, and commercial fleet installations demand higher reliability and professional oversight. Complex wiring modifications or integration of advanced BMS systems also fall into this category.
Conclusion
Most golf cart owners can replace their own batteries when performing a like-for-like replacement or installing a true drop in lithium system. These tasks are primarily mechanical and follow a predictable sequence. However, upgrades involving voltage changes, motor-controller compatibility, or electrical system modifications require more advanced technical knowledge. Evaluating your skill level and understanding your cart’s electrical architecture are essential to ensuring a safe and reliable installation.
FAQ
Can I replace lead-acid batteries with lithium myself?
Yes, if the lithium system is a true drop-in replacement. More advanced lithium systems may require charger replacement or controller adjustments.
Do I need to reprogram the controller when switching to lithium?
Not always, but some controllers require reprogramming to optimize performance or prevent undervoltage or overvoltage faults.
How do I know if my cart is Series or Sepex?
Series carts lack a Run/Tow switch. Sepex carts include a Run/Tow switch and have separate field and armature wiring.
Do I need a new charger when replacing the battery?
Lead-acid chargers are not compatible with lithium. A lithium-specific charger is required unless the lithium pack includes an integrated charging module.
Is it dangerous to install a battery incorrectly?
Yes. Incorrect wiring can damage the controller, cause short circuits, or create fire hazards.
How long does a DIY replacement usually take?
A like-for-like replacement typically takes one to two hours. More complex upgrades may require several hours or professional assistance.
Share