


How to Wire Golf Cart Batteries Complete Guide
Reading time 9 minutes
Share
Knowing how to hook up golf cart batteries correctly is one of the most important parts of keeping your cart running safely and efficiently. Whether you're replacing old lead-acid batteries or upgrading to a lithium system, proper wiring ensures consistent power, longer lifespan, and fewer breakdowns.
This guide walks you through every step, from understanding battery basics to performing post-connection tests and troubleshooting wiring mistakes, to help both everyday golf cart owners and maintenance staff wire their batteries confidently.

Understanding Golf Cart Battery Wire Basics
Before connecting any cables, it's essential to understand how golf cart battery wire systems work. Most golf carts run on 36V, 48V, or 72V systems, made up of multiple deep-cycle batteries wired together to reach the desired voltage.
| Battery Type | Typical Voltage per Unit | Common Setup Example |
|---|---|---|
| 6V Deep-Cycle Lead-Acid | 6 volts | 6 × 6V = 36V system |
| 8V Deep-Cycle Lead-Acid | 8 volts | 6 × 8V = 48V system |
| 12V Deep-Cycle Lead-Acid | 12 volts | 4 × 12V = 48V system |
| Lithium (LiFePO₄) | 12–51.2 volts (pack) | Single 48V lithium battery |
Lead-acid batteries are heavier and require regular maintenance, such as refilling water levels, cleaning terminals, and checking cable tightness.
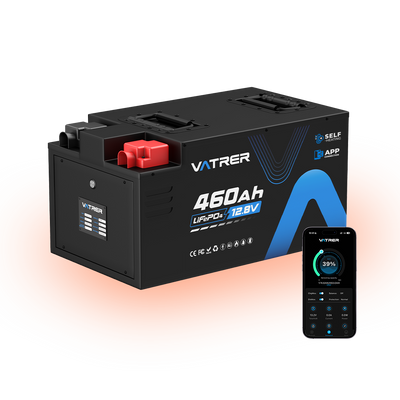
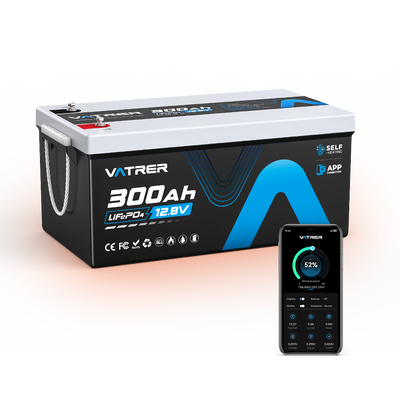
Lithium batteries, like Vatrer LiFePO4 battery, are lighter, maintenance-free, and have a built-in Battery Management System (BMS) to protect against overcharging, short circuits, and overheating.
Tip: Always check your golf cart's manual to confirm the voltage and amp-hour (Ah) requirements before wiring. Incorrect matching can cause underperformance or charger incompatibility.
Wiring Differences Between Lithium and Lead-Acid Golf Cart Batteries
When you hook up golf cart batteries, the wiring method depends heavily on the battery chemistry. Understanding these differences ensures safety and efficiency:
- Lead-Acid Batteries: Typically require multiple smaller units (6V, 8V, or 12V) wired in series to achieve higher voltages. Each battery needs ventilation and frequent inspection.
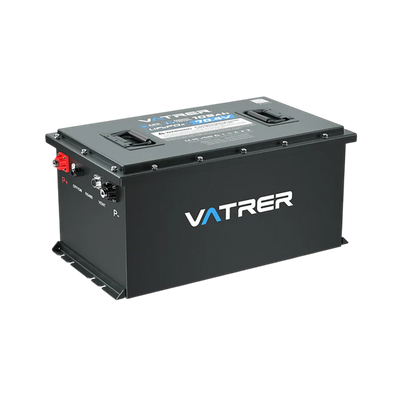
- Lithium Batteries: Modern LiFePO4 batteries, such as Vatrer 48V 105Ah, are usually pre-assembled packs that only need a few connection points, simplifying installation.
- Safety Features: Lithium systems have integrated BMS protection, lead-acid batteries rely solely on external maintenance.
- Charging Compatibility: Lead-acid chargers cannot be used for lithium packs, lithium batteries require chargers rated precisely for their voltage (for instance, 58.4V for a 48V battery).
- Performance Impact: Lithium setups deliver steady voltage across discharge cycles, providing stronger acceleration and consistent performance until nearly empty.
Tip: Always use a golf cart battery wiring diagram from the battery manufacturer before connecting to ensure all terminals align properly. If you purchased a Vatrer battery, you can refer to the following golf cart battery wiring diagram

How Golf Cart Battery Wire Configuration Affects Voltage and Current
The configuration of golf cart battery wires determines the overall system voltage and total capacity. Understanding how series and parallel connections work is key to wiring safely.
- Series Connection: Connects the positive terminal of one battery to the negative terminal of the next. Increases voltage but keeps amp-hour capacity (Ah) the same.
- Parallel Connection: Connects all positive terminals together and all negative terminals together. Maintains voltage but increases total Ah capacity.
| Connection Type | Voltage Effect | Capacity Effect | Example |
|---|---|---|---|
| Series | Increases | Same | 6×6V = 36V |
| Parallel | Same | Increases | 2×12V 100Ah = 12V 200Ah |
Example: Connecting four 12V batteries in series creates a 48V system, which is common for modern carts. Proper cable gauge selection ensures current flow without overheating.
Tip: Always match battery specifications—voltage, capacity, and chemistry—before wiring in series or parallel. Mixing batteries can cause an imbalance and damage. If you are considering purchasing Vatrer golf cart batteries, we recommend choosing a battery pack that matches your golf cart's voltage system. Our batteries are designed for single-unit use and are not recommended for series or parallel connections in golf carts.
Preparation Before You Hook Up a Golf Cart Battery
Proper preparation ensures safety and reliability before wiring. Gather your golf cart battery tools list first:
- Insulated wrenches and screwdrivers
- Proper gauge battery cables (based on system current draw)
- Multimeter or digital voltmeter
- Battery terminal cleaner or a wire brush
- Safety gloves and protective goggles
- Zip ties and cable clamps for organization
Pre-Wiring Checklist:
- Turn off the golf cart and remove the key.
- Unplug the charger and disconnect all power.
- Wear protective gloves and ensure good ventilation.
- Take photos of the existing setup for reference.
- Clean corrosion and apply terminal grease to prevent oxidation.
- Label positive (+) and negative (–) terminals clearly.
Tip: Disconnect the negative terminal first, then the positive. During reinstallation, reconnect the positive first, then the negative. This reduces the risk of short circuits.
Step-by-Step Golf Cart Battery Wire Connection Guide
Connecting your golf cart batteries correctly is essential for both safety and performance. The following guide breaks down the entire process in clear, step-by-step instructions, suitable for both beginners and experienced maintenance technicians. These steps apply to most 36V, 48V, and 72V golf carts, whether you're using traditional lead-acid or modern lithium batteries.
Step 1: Arrange the Batteries in the Tray
Before you begin wiring, place all batteries securely in the battery compartment.
- Ensure each battery sits flat and stable in its tray.
- Terminals should face in the direction that minimizes cable crossing or tension.
- For carts like EZGO or Club Car, check that the battery brackets or hold-downs are tight but not crushing the battery case.
Tip: Leave enough spacing between each unit for air circulation and inspection access.
Step 2: Identify the Main Positive and Negative Leads
Your golf cart's electrical system connects to the main positive (+) and main negative (–) cables.
- The main positive usually runs to the motor controller or fuse block.
- The main negative connects to the frame ground or controller return. Mark these clearly with tape or tags before disconnecting or rewiring to avoid confusion later.
Step 3: Connect the Batteries in Series
If your goal is to create a higher voltage system, like 36V or 48V, you'll use a series connection:
- Connect the positive terminal of Battery 1 to the negative terminal of Battery 2.
- Continue linking each battery in the same way, positive to negative, until all are connected.
- The remaining free positive terminal becomes the main positive, and the remaining free negative terminal becomes the main negative.
Example:
For a 48V system using four 12V batteries, connect them like this:
Battery 1 (+) → Battery 2 (–)
Battery 2 (+) → Battery 3 (–)
Battery 3 (+) → Battery 4 (–)
Battery 1 (–) = main negative | Battery 4 (+) = main positive
This is called a golf cart battery series connection, which increases voltage but keeps amp-hour capacity the same.
Step 4: Connect in Parallel
If you need more runtime instead of a higher voltage, you can connect batteries in parallel:
- Connect all positive terminals using short cables.
- Connect all negative terminals using another set of cables. This setup keeps the voltage the same but doubles or triples the total amp-hour capacity, depending on how many batteries are connected.
Tip: Use equal-length cables to ensure balanced current flow between batteries. Unequal wire lengths can cause uneven charging.
Step 5: Attach the Main Power Leads
Once the batteries are correctly wired (series or parallel):
- Connect the main positive cable from the cart to the positive terminal of the first battery.
- Connect the main negative cable from the cart to the negative terminal of the last battery.
- Make sure all connections are tight and clean, but avoid overtightening, this can damage battery posts or cable lugs.
Tip: Use a torque wrench if available, follow your battery manufacturer's recommended torque settings (often between 90-120 in-lbs for most golf cart terminals).
Step 6: Inspect and Secure All Golf Cart Battery Wires
- Double-check your golf cart battery wiring diagram before applying power.
- Ensure that no cable is pinched, stretched, or crossing over sharp edges.
- Use zip ties or wire clamps to organize cables neatly.
- Apply terminal grease or dielectric compound to prevent corrosion.
This step improves reliability and helps avoid future maintenance issues.
Step 7: Perform a Final Safety Check Before Powering On
Before turning the ignition key or plugging in the charger:
- Verify that the total voltage matches your system requirement (use a multimeter).
- Make sure there are no loose tools, metal objects, or cables near the battery terminals.
- Reconnect the main power line starting with the positive side.
- Test the system by turning the key and running the cart slowly for a few feet.
If the cart runs smoothly and voltage readings are stable, your installation is successful.
Extra Professional Tips
- Cable Gauge: Use 4 AWG or thicker cables for 36V/48V systems to handle high current safely.
- Avoid Mixing Batteries: Never wire old and new batteries together, differing internal resistance can cause imbalances.
Following this step-by-step golf cart battery wire connection guide ensures that your wiring is both safe and efficient.
Testing the Golf Cart Battery Wiring After Installation
After connecting all golf cart battery wires, testing ensures everything operates safely:
- Measure Total Voltage: Use a multimeter to verify that your system matches the expected voltage (like 50-52V for a 48V system).
- Inspect All Terminals: Check for tightness, corrosion, or spark signs.
- Power Up the Cart: Turn on the ignition and operate the cart at low speed to confirm smooth performance.
- Check Charger Compatibility: Plug in your charger to ensure it detects and charges the battery pack correctly.
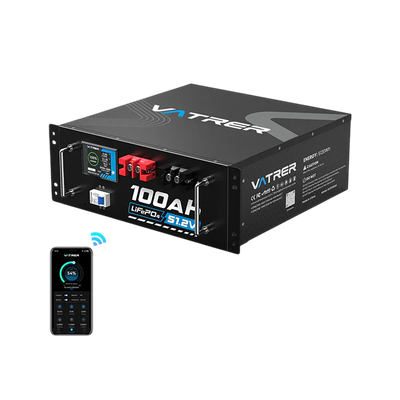
- Monitor Battery Health: For lithium systems like Vatrer Battery, use the Bluetooth app or LCD screen to monitor real-time voltage, SOC, and temperature.
Tip: Test each battery individually if your readings are inconsistent, imbalances often indicate a weak or failing unit.
Common Golf Cart Battery Wire Mistakes and Troubleshooting
Even a small mistake in wiring can lead to performance issues or damage. Here are common golf cart wiring mistakes to avoid and how to troubleshoot them:
| Problem | Likely Cause | Fix |
|---|---|---|
| Cart won’t start | Wrong polarity or open connection | Recheck wiring against the diagram and ensure all cables are tight |
| Sparks during hookup | Short circuit or reversed leads | Disconnect immediately and verify positive/negative alignment |
| Uneven discharge | Mixed battery ages or capacities | Replace with matched batteries |
| Cable overheating | Loose or undersized cables | Use thicker cables and retighten connections |
| Voltage drops quickly | Corroded terminals or faulty cell | Clean or replace affected parts |
Tip: If you are using a lead-acid battery, stop using it immediately if you smell a rotten egg-like odor or see the battery bubbling. This may indicate overcharging or an internal short circuit in the lead-acid battery.
Golf Cart Battery Wire Safety Tips
Handling batteries requires caution. Here are key golf cart battery safety tips for any installation:
- Work in a dry, well-ventilated area.
- Never place tools across both terminals simultaneously.
- Wear insulated gloves and eye protection at all times.
- Avoid sparks, smoking, or flames near the battery bay.
- Confirm that your charger matches the battery chemistry (lead-acid vs lithium).
- For lithium systems, ensure BMS protection is active and the temperature is above the minimum charging threshold.
Tip: Double-check torque specs from the battery manufacturer, over-tightening terminals can crack battery posts or weaken cable lugs.
Conclusion
Wiring your golf cart batteries safely isn't just about getting your cart to run, it's about ensuring long-term reliability, safety, and efficiency. Understanding golf cart battery wire connections, preparing the right tools, and following structured hook-up golf cart battery steps make the process smoother and safer.
For those who want to simplify their setup, upgrading to a Vatrer lithium golf cart battery can save time and maintenance effort. Vatrer's advanced LiFePO4 models feature built-in BMS protection, fast charging, and lightweight designs, making installation nearly plug-and-play for most 36V and 48V golf carts.
Vatrer batteries are built for longer cycles, stable power delivery, and easy monitoring via Bluetooth or LCD. Visit the Vatrer Battery official website to explore reliable options for EZGO, Club Car, and Yamaha carts, and enjoy worry-free performance season after season.
Share