How to Refurbish a Golf Cart: From Tires to Batteries
Reading time 3 minutes
Refurbishing a golf cart is not just about upgrading it mechanically but also enhancing its aesthetics and efficiency. One of the most impactful upgrades is transitioning from lead acid to lithium batteries. This blog post will walk you through a comprehensive approach to refurbishing your golf cart, covering everything from basic repairs to advanced upgrades.

Step 1: Initial Assessment and Planning
Start by thoroughly inspecting your golf cart. Assess all components including tires, seats, steering system, brakes, and the electrical system. Identify areas that need repair or replacement. Create a checklist and prioritize tasks based on urgency and impact on performance.
Step 2: Mechanical Repairs
a. Suspension and Brakes
Begin with the suspension and brakes. Replace worn-out shock absorbers, springs, and brake pads to ensure the cart drives smoothly and safely.
b. Tires
Check the tires for wear and tear. Replace them if they are balding or damaged to improve traction and safety.
c. Steering System
Inspect the steering rack and pinion for any looseness or damage. A responsive steering system is crucial for the maneuverability of the cart.
Step 3: Aesthetic Enhancements
a. Seat Refurbishment
Consider reupholstering or replacing the seats if they are torn or faded. This not only improves comfort but also refreshes the look of your cart.
b. Body Work
Address any dents, rust, or scratches on the body. A fresh coat of paint can dramatically improve the appearance of your golf cart.
Step 4: Electrical System Overhaul
a. Battery Upgrade
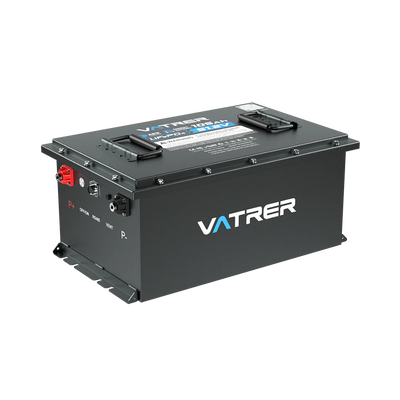
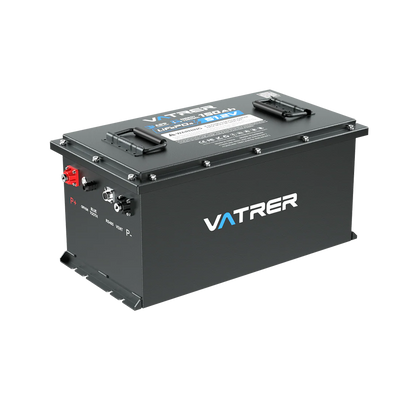
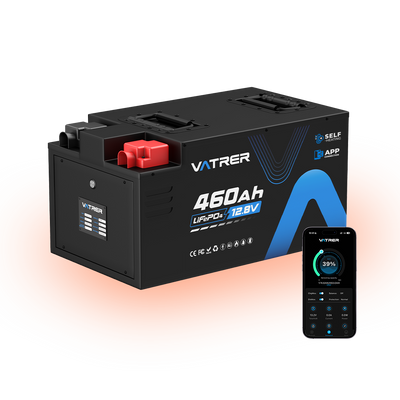
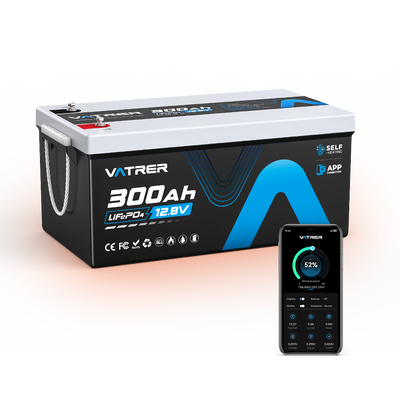
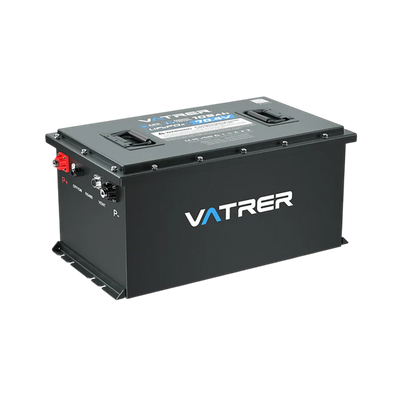
Remove the old lead acid batteries and replace them with high-efficiency lithium batteries. This will lighten the load and extend the run time of your cart.
b. Wiring Check
Review all wiring and replace any frayed or damaged wires to prevent electrical failures.
c. Lighting
Upgrade to LED lights for better visibility and reduced power consumption.
Step 5: Installing a Battery Management System (BMS)
When upgrading to lithium batteries, installing a BMS is crucial. It ensures the batteries operate within their safety parameters by managing their charging and discharging processes. It also prolongs the lifespan of the batteries by preventing conditions that lead to premature failure. If you purchase a golf cart specific battery, they usually include a BMS and do not require additional installation.
Step 6: Performance Testing
After all repairs and upgrades are complete, thoroughly test the golf cart to ensure everything is in working order. Check the alignment and calibration of the steering, test the brakes, and make sure the electrical system is functioning correctly. Pay close attention to the performance of the new lithium batteries and the overall handling of the cart.
Step 7: Regular Maintenance
Maintenance is key to keeping your refurbished golf cart in top condition. Regularly check the tire pressure, battery levels, and brake system. Clean the cart frequently and store it in a dry, shaded place to protect it from the elements.
Conclusion
Refurbishing a golf cart can be a deeply satisfying project that not only restores its functionality but also customizes it to your preferences. Upgrading from lead acid to lithium batteries is just one part of the process, but it's a significant step towards a more efficient and reliable golf cart. With careful planning, attention to detail, and regular maintenance, your refurbished golf cart will serve you well for many more rounds to come.
Happy refurbishing!
Share